The Ultimate Guide to React Testing with Jest

Introduction
In the fast-paced realm of software development, code reliability and quality are paramount. Testing is vital for achieving this, and Jest has become a popular framework for testing React applications. It helps developers detect bugs early, ensures that code modifications don't create new problems, and preserves application integrity over time. In this blog, we're going to discuss the importance of testing, how Jest improves it, and the best practices for writing effective tests. By the end, you'll understand how to implement a strong testing strategy in your React applications using Jest.
Overview of Jest
Jest, is a comprehensive testing framework created by Facebook. It is a preferred choice for testing JavaScript applications, especially those developed with React. Key features include a zero-configuration setup for quick test initiation and powerful snapshot testing for capturing component outputs over time. Jest simplifies the mocking of functions, modules, and components, which is vital for isolating code units during testing. It also runs tests in parallel which greatly accelerates, the testing process. These features make Jest integrate smoothly with React, simplifying the writing and maintenance of tests for React's unique component-based architecture.
// Example: Simple Jest Test
test('adds 1 + 2 to equal 3', () => {
  expect(1 + 2).toBe(3);
});
Types of Tests in React
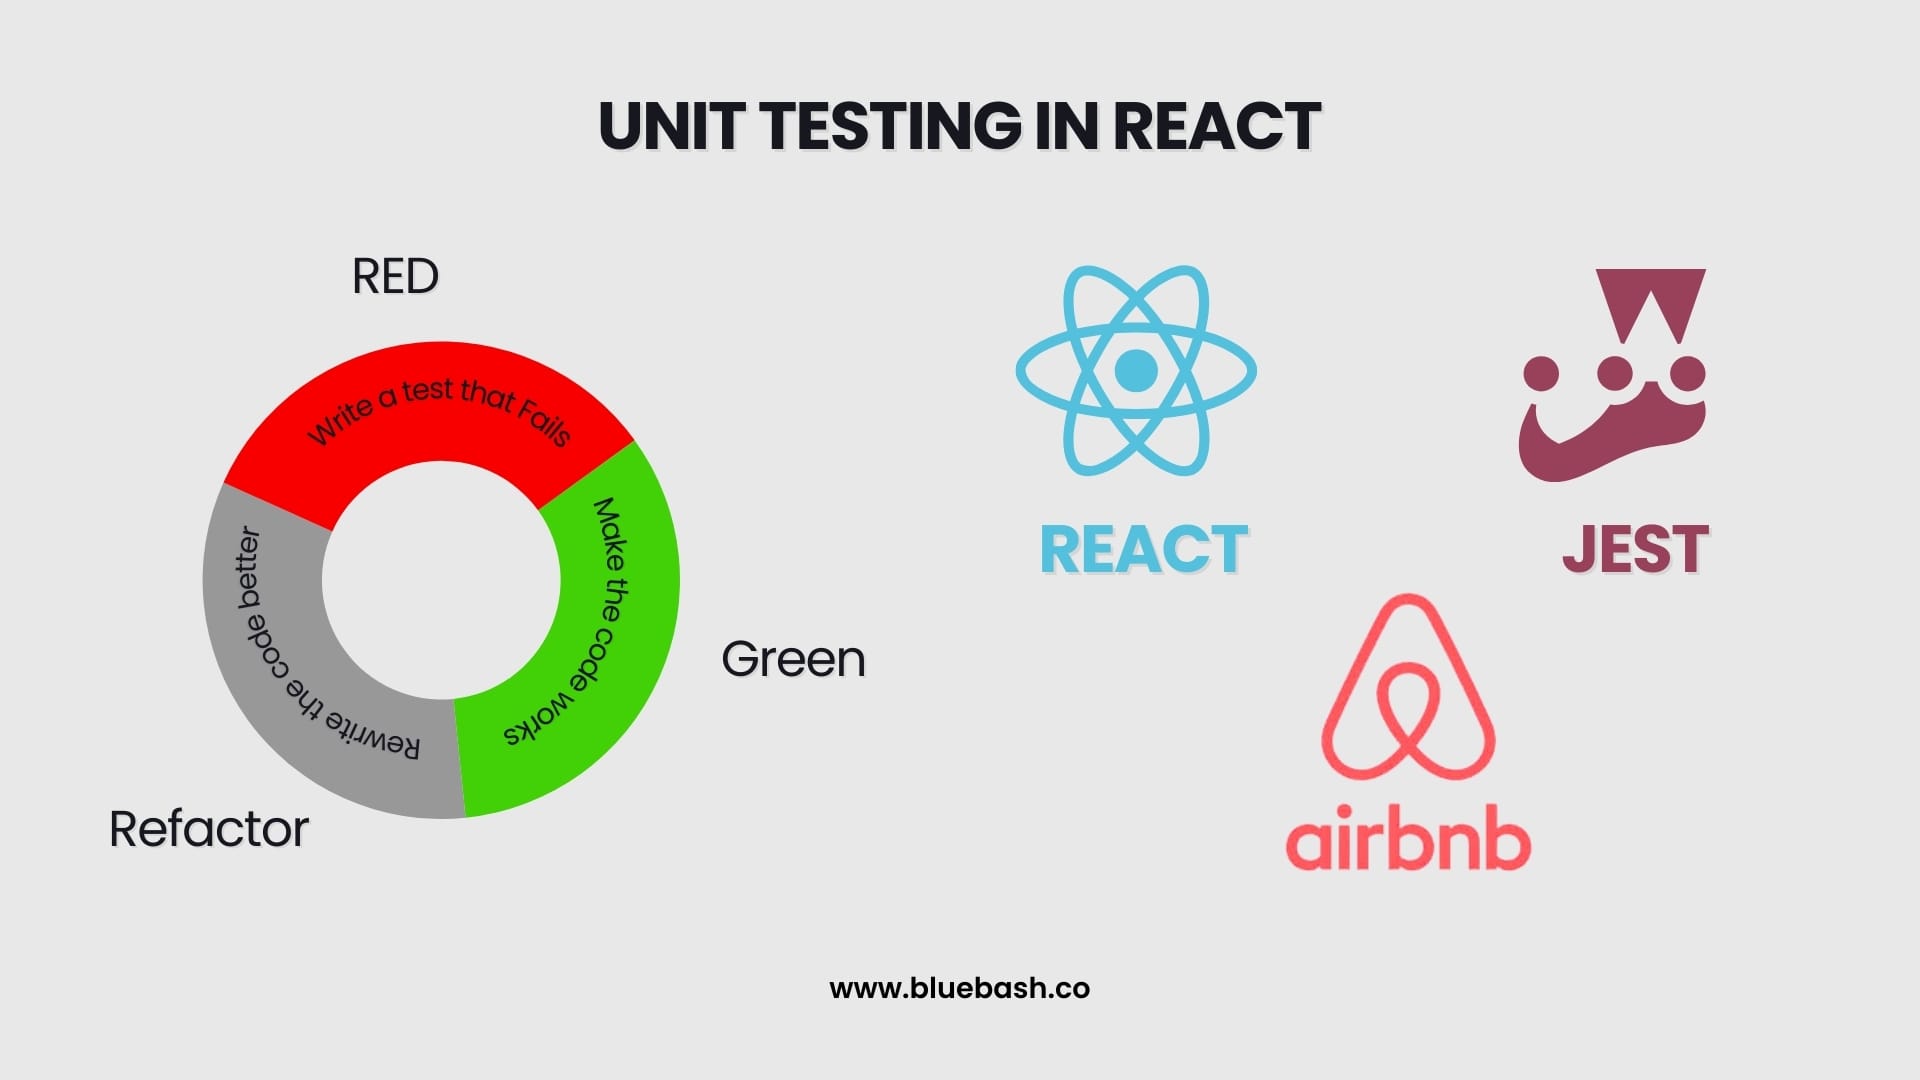
React application testing can be divided into three types: unit tests, integration tests, and end-to-end (E2E) tests. Unit tests focus on individual components or functions, ensuring each part of the codebase performs as expected in isolation. These tests are vital for verifying specific code functionality without external dependencies.
Integration tests check how different application parts work together, providing a more comprehensive assessment by validating interactions between various components and modules.
Lastly, end-to-end tests simulate real user interactions, testing the entire application from start to end. While E2E tests provide the highest confidence level by mimicking actual user behavior, they are also the most time-consuming and complex to write and maintain.
Each test type is crucial for ensuring the overall quality and reliability of a React application.
- Unit Test
Unit tests focus on testing individual components or functions in isolation. This ensures that each part of the code works as expected independently.
// Example: Unit Test for a React Component
import React from 'react';
import { render } from '@testing-library/react';
import '@testing-library/jest-dom/extend-expect';
import MyComponent from './MyComponent';

test('renders component correctly', () => {
  const { getByText } = render(<MyComponent />);
  expect(getByText('Hello, World!')).toBeInTheDocument();
});
- Integration Test
Integration tests check how different pieces of code work together. For React applications, this often means testing how components interact with each other.
// Example: Integration Test for React Components
import React from 'react';
import { render } from '@testing-library/react';
import '@testing-library/jest-dom/extend-expect';
import ParentComponent from './ParentComponent';

test('renders child component within parent', () => {
  const { getByText } = render(<ParentComponent />);
  expect(getByText('Child Component')).toBeInTheDocument();
});
- End-to-End Test
End-to-end (E2E) tests simulate real user interactions and test the entire application flow. While Jest is not typically used for E2E testing, tools like Cypress are often preferred.
// Example: E2E Test (with a tool like Cypress, not Jest)
describe('My App', () => {
  it('should load the home page', () => {
    cy.visit('/');
    cy.contains('Welcome to My App');
  });
});
Setting Up Jest in a React Project
Setting up Jest in a React project is straightforward, particularly with Create React App (CRA). CRA already has Jest pre-configured, enabling you to write tests immediately. For new projects, simply run npx create-react-app my-app to create a new React application with Jest pre-configured. If you're working on an existing project or prefer a custom setup, you can install Jest via npm using npm install --save-dev jest. Configure it manually by creating a jest.config.js file or modifying the package.json settings. This versatility ensures Jest's integration into any React project, regardless of its original setup.
- Manual Setup
If you're not using CRA, you can manually install and configure Jest.
# Install Jest
npm install --save-dev jest

# Add a basic Jest configuration to package.json
{
  "scripts": {
    "test": "jest"
  },
  "jest": {
    "testEnvironment": "jsdom"
  }
}
Best Practices for Writing Tests
Organizing your test files and adhering to a consistent naming convention is essential for both readability and maintainability. Test files are usually placed either alongside their associated components or in a specific __tests__ directory. They are named with a .test.js or .spec.js extension to denote their function clearly. Writing meaningful test cases requires explicitly stating what each test verifies, focusing each test on a single functionality, and using descriptive names that reflect the test's purpose. This method allows for quick comprehension of the tests and eases their maintenance. Moreover, keeping tests simple and free of unnecessary complexity ensures their readability and maintainability as the codebase develops.

Organizing Test Files
A common approach is to place test files alongside the components they test or in a __tests__ directory.
src/
  components/
    MyComponent/
      MyComponent.js
      MyComponent.test.js
Understanding Snapshot Testing
Snapshot testing is a method used to verify that the UI of your components does not unintentionally change. When this test is performed, Jest captures the rendered output of the component and stores it in a snapshot file. Any differences between the current output and the saved snapshot are flagged in future test runs. This approach is especially beneficial for identifying unanticipated UI changes. However, snapshot testing has its limitations. Snapshots can grow large and cumbersome, potentially leading to false positives if not managed properly. Regular review and update of snapshots are essential to maintain their accuracy in representing the desired UI state.
// Example: Snapshot Test
import React from 'react';
import renderer from 'react-test-renderer';
import MyComponent from './MyComponent';

test('renders correctly', () => {
  const tree = renderer.create(<MyComponent />).toJSON();
  expect(tree).toMatchSnapshot();
});
Mocking in Jest
Mocking is an essential part of isolating the code under test and controlling its dependencies. Jest provides powerful tools for mocking functions, components, and modules, which can simplify the testing process significantly. Using jest.fn() allows you to create mock functions, while jest.mock() can be used to mock entire modules. This capability is crucial for isolating components from external dependencies, simulating different scenarios and edge cases, and controlling the behavior of complex dependencies during testing. By using mocks effectively, you can ensure that your tests remain focused on the specific unit of code being tested, without being affected by unrelated parts of the application.
- Mocking a Function
// Example: Mocking a Function
const myMock = jest.fn();
myMock.mockReturnValueOnce(10).mockReturnValueOnce('x').mockReturnValue(true);

test('mock function example', () => {
  expect(myMock()).toBe(10);
  expect(myMock()).toBe('x');
  expect(myMock()).toBe(true);
});
- Mocking the module
// Example: Mocking a Module
jest.mock('./myModule', () => ({
  myFunction: jest.fn().mockReturnValue('mocked value')
}));

import { myFunction } from './myModule';

test('mock module example', () => {
  expect(myFunction()).toBe('mocked value');
});
Testing Asynchronous Code
Asynchronous operations, like API calls and timers, add extra complexity to testing. Jest provides tools to tackle these challenges. It includes support for async/await, mock timers, and promises. Async/await simplifies asynchronous tests by allowing you to pause tests until asynchronous operations finish. Mocking APIs and external services lets you simulate various responses and scenarios. This ensures your components handle asynchronous operations correctly. Additionally, Jest's built-in functions for managing timers and delays simplify testing time-dependent operations. Properly managing asynchronous code in your tests is key to their reliability and robustness.
// Example: Async Test
import { fetchData } from './api';

jest.mock('./api');

test('fetches data successfully', async () => {
  const data = { name: 'John Doe' };
  fetchData.mockResolvedValue(data);

  const result = await fetchData();
  expect(result).toEqual(data);
});
Advanced Testing Concepts
For more complex scenarios, you may need to test custom hooks, context providers, and integrate Jest with TypeScript. You can test custom hooks by creating mock components that use these hooks. To simulate real-world usage accurately, context and providers require careful setup. Integrating Jest with TypeScript requires configuring TypeScript support in Jest and managing type definitions properly. This integration promotes type-safe tests and an improved developer experience, ensuring your tests and application code comply with the expected types and interfaces.
- Testing with custom Hook
// Example: Testing a Custom Hook
import { renderHook, act } from '@testing-library/react-hooks';
import useCounter from './useCounter';

test('should increment counter', () => {
  const { result } = renderHook(() => useCounter());

  act(() => {
    result.current.increment();
  });

  expect(result.current.count).toBe(1);
});
- Testing with context Provider
// Example: Testing Context Provider
import React from 'react';
import { render, screen } from '@testing-library/react';
import { MyContextProvider, useMyContext } from './MyContext';

const TestComponent = () => {
  const { value } = useMyContext();
  return <div>{value}</div>;
};

test('provides context value', () => {
  render(
    <MyContextProvider>
      <TestComponent />
    </MyContextProvider>
  );
  expect(screen.getByText('context value')).toBeInTheDocument();
});
Conclusion
Testing is a crucial aspect of developing high-quality React applications. Jest offers a comprehensive and user-friendly environment for writing and managing tests, which makes it a great choice for React developers. By adhering to best practices and understanding the testing techniques discussed in this blog, you can build robust, reliable, and maintainable React applications. Implementing a strong testing strategy with Jest can improve your code quality, and boost your confidence in its performance and stability. So, happy testing!